
Last updated November 2, 2026
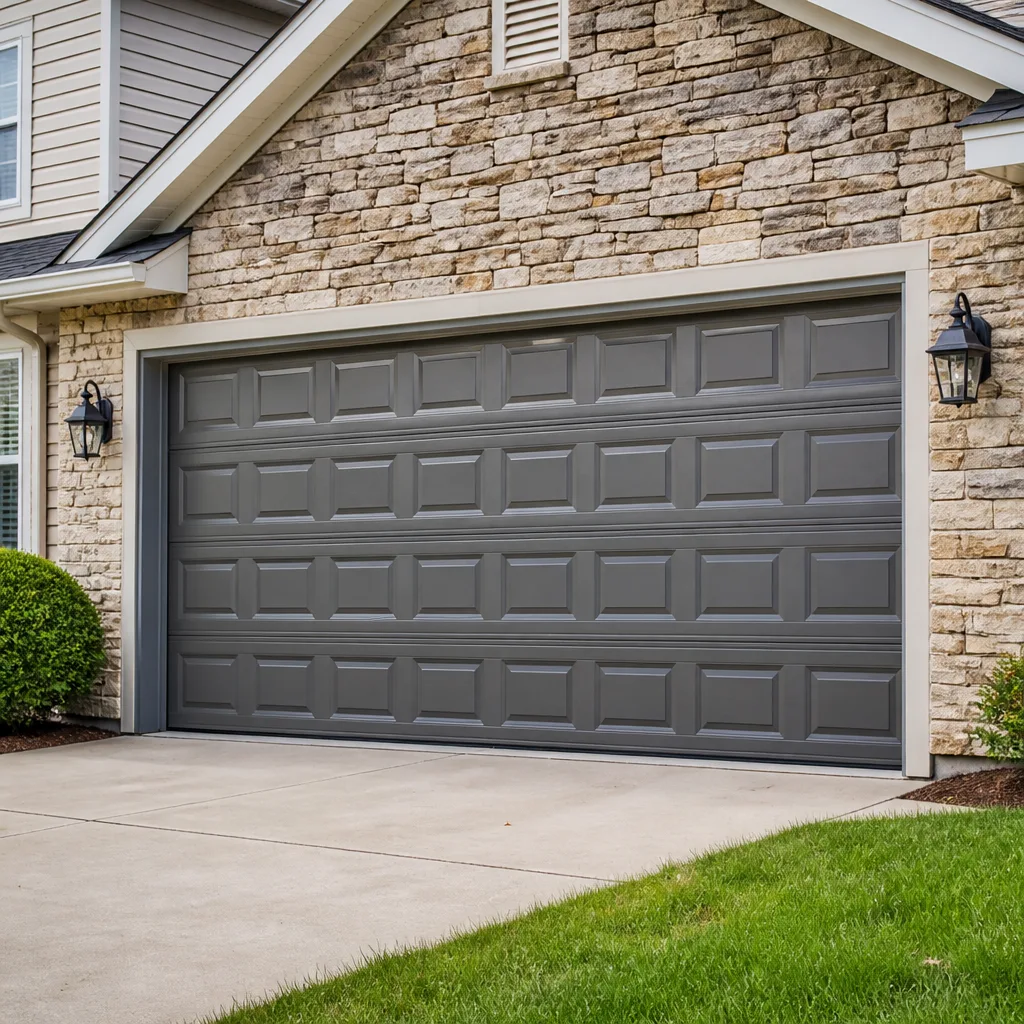 Raised-panel steel
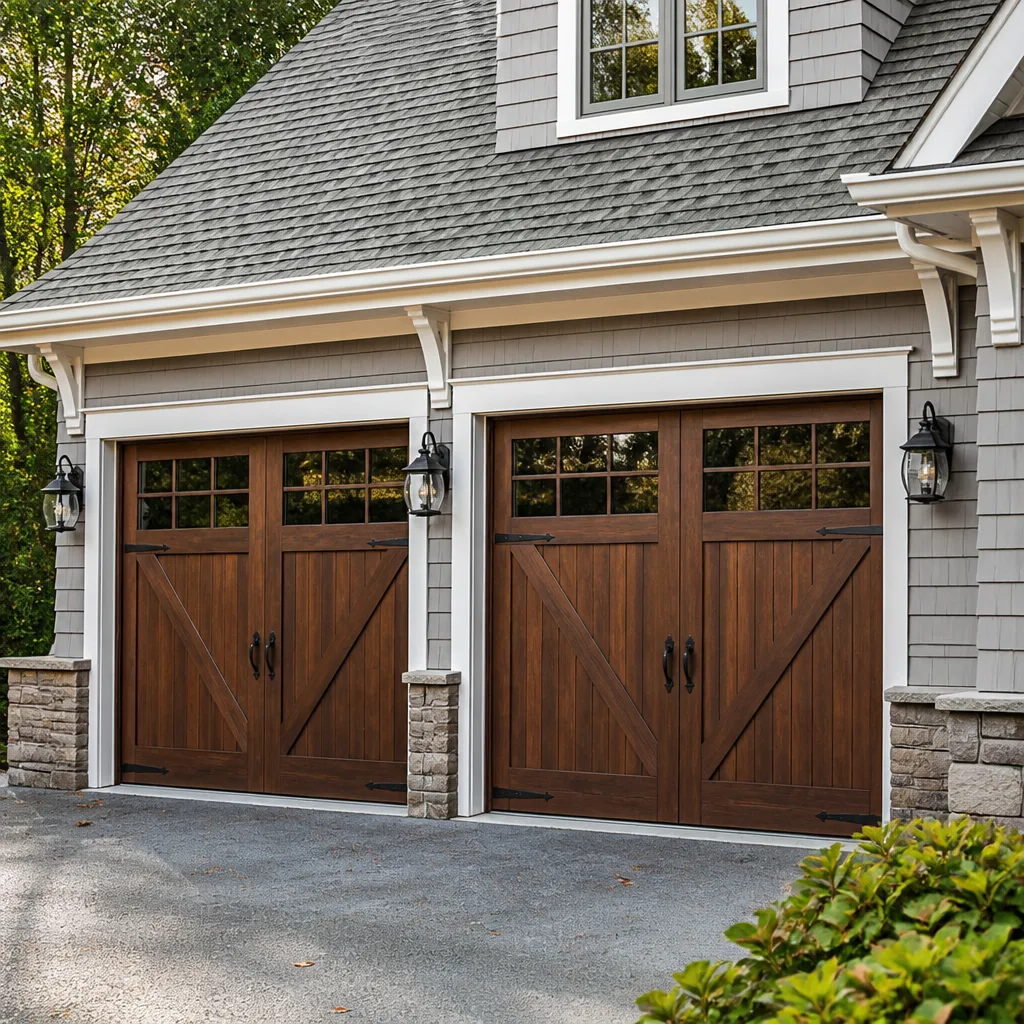 Carriage house
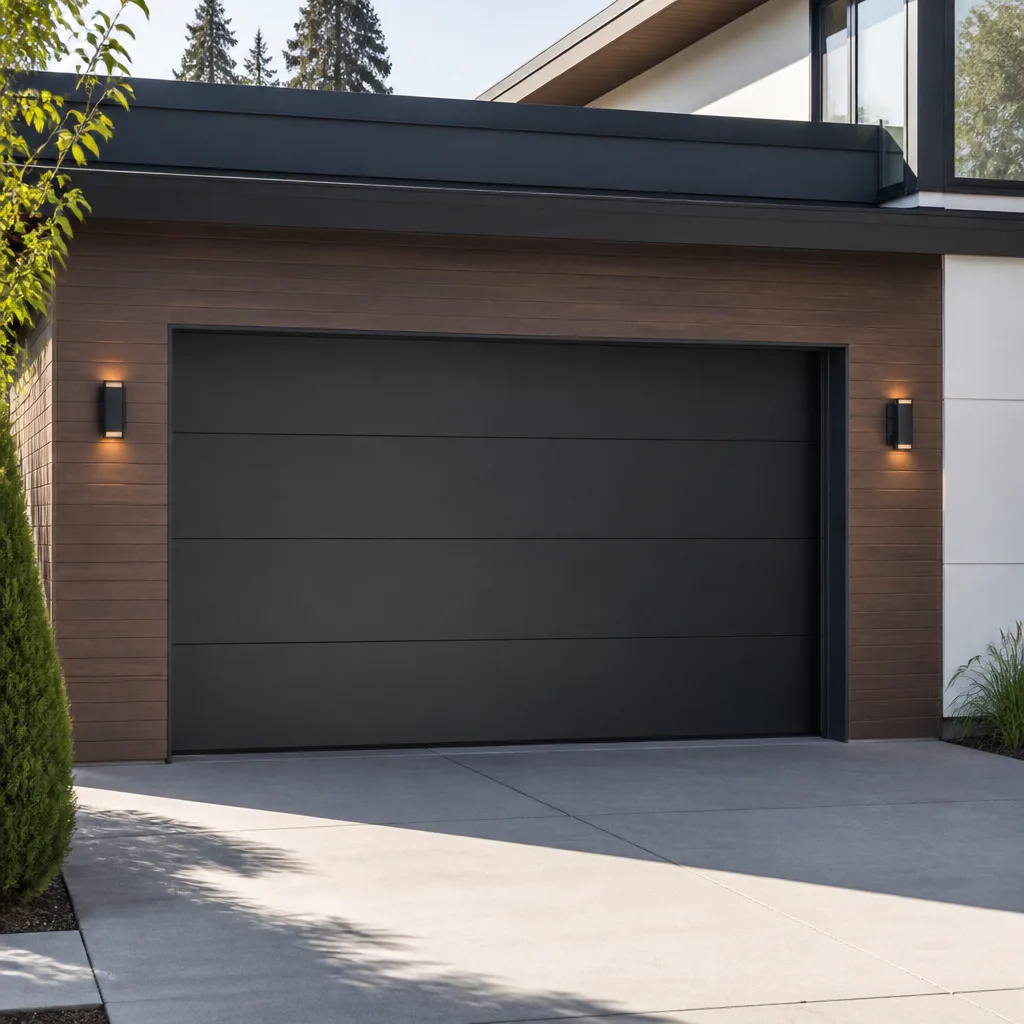 Modern flush
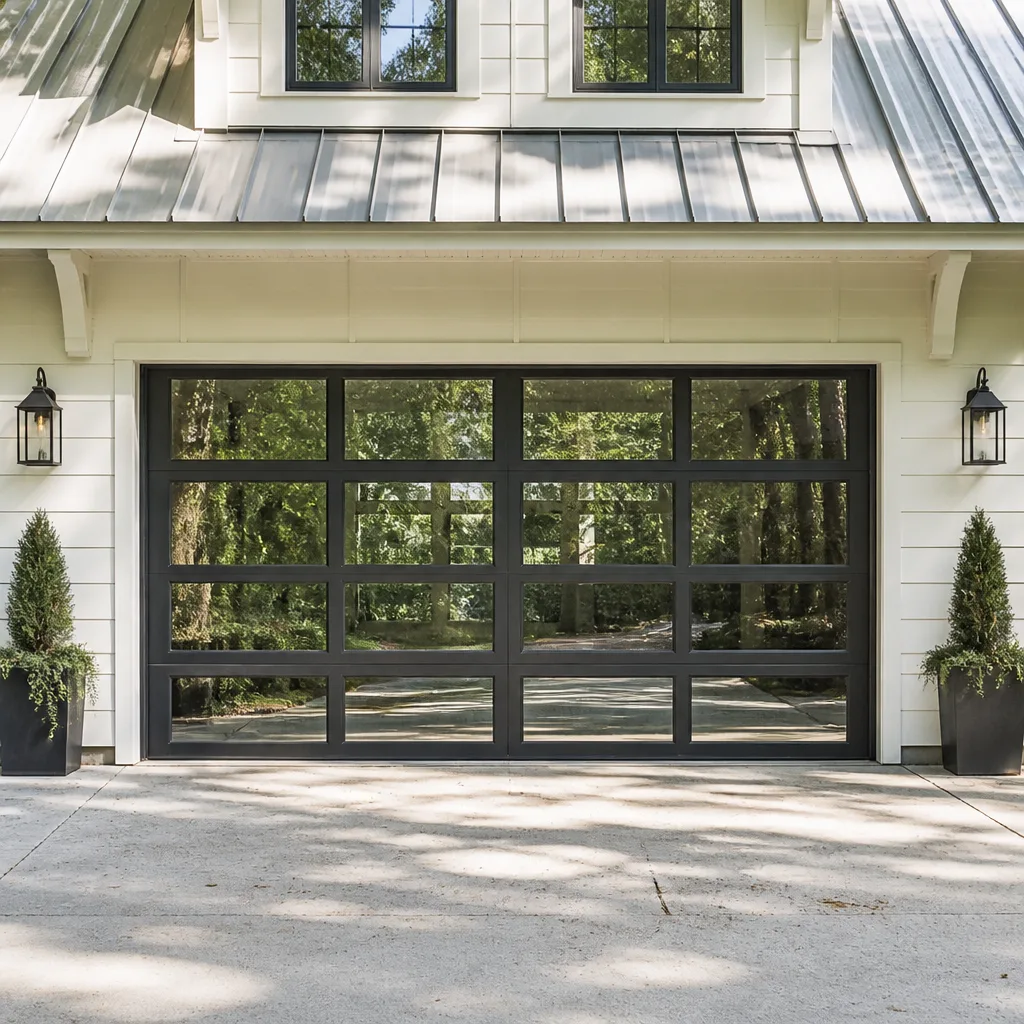 Full-view glass
 LiftMaster openers
 Chamberlain openers
Full 25-point door and opener safety check with every visit - springs, cables, rollers, tracks, and your LiftMaster or Chamberlain opener included
You get a price before we start. It does not change when the truck arrives.
Get your free estimateGarage Door Repair Troubleshooting: Common Problems and How to Fix Them
A garage door that reverses before touching the ground and a door that reverses immediately after touching the ground are caused by two completely different systems. Most troubleshooting guides lump them together as “the same problem.” They’re not. One points to your photo-eye sensors; the other points to your force sensitivity setting or a physical obstruction. Understanding which system is talking to you changes everything about how fast you get the door working again. This guide walks through the observable symptoms, the root causes, and the safe fixes, so by the time you pick up the phone to call a technician in Upland, you already know what to say and what to expect.
Styles & brands we work with
- Raised-panel steel
- Carriage house
- Modern flush
- Full-view glass
- LiftMaster openers
- Chamberlain openers
Quick Answer
Garage door repair troubleshooting comes down to reading what your door is telling you through its sounds, movements, and error codes. Most common problems fall into five categories: the door won’t move at all, it moves partway and stops, it reverses on the way down, it makes grinding or squealing noises, or the opener runs but the door doesn’t respond. Many of these have simple homeowner-level fixes (cleaning photo-eye lenses, tightening hardware, checking the disconnect cord), but spring failures, cable breaks, and stripped gears require a trained technician with the right tools and tension-handling experience.
Table of Contents
- Symptom-to-Cause Decision Tree: Start Here
- The Door Won’t Move at All
- The Door Moves Partially, Then Stops
- The Door Reverses Before or After Touching the Ground
- Reading the Noises: Grinding, Squealing, Rattling
- Error Code Blinks: LiftMaster, Chamberlain, and Genie
- The Three Tests You Can Safely Perform
- Common Misdiagnoses That Cost Time and Money
- Where Self-Troubleshooting Crosses Into Danger
- Common Mistakes to Avoid
- When to Call a Professional
- Frequently Asked Questions
- The Bottom Line
Symptom-to-Cause Decision Tree: Start Here
Forget organizing a troubleshooting guide by component. Components confuse people who don’t know what a carriage assembly is. Organize by what the door does. That’s how our technicians in Upland diagnose problems over the phone, and it’s how you should think about it too. Here is the decision tree we use.
Start by asking one question: what is the door actually doing?
- The door does nothing when you press the button → Check power to the opener, then check the disconnect cord, then look for a stripped gear (the motor runs but the sprocket doesn’t turn).
- The door moves a few inches and stops → Check for an obstruction in the tracks, check spring balance, or the opener force settings need adjustment.
- The door goes down, touches the ground, and immediately reverses up → The down-force setting is too sensitive, or the close-limit switch is set wrong.
- The door reverses before it ever touches the ground → The photo-eye sensors are misaligned, dirty, or blocked.
- The door moves but makes a grinding, squealing, or rattling noise → Grinding points to the gear-and-sprocket assembly in the opener. Squealing points to rollers, hinges, or the torsion spring. Rattling points to loose hardware.
- The door opens fine but won’t close, or closes fine but won’t open → Check the force settings and travel limits on the opener, plus the safety sensor wiring.
Each branch of that tree leads to a different section below. If you only read one section today, read the one that matches what your door is actually doing. For Garage Door Warning Signs: An Upland Homeowner’s Reference Guide, see our dedicated breakdown of symptoms that signal bigger problems.
The Door Won’t Move at All
When a garage door in Upland does absolutely nothing when you hit the wall button or the remote, the first thing to rule out is something simple. A dead battery in the remote. A tripped GFCI outlet. A power surge from one of our summer storm systems that knocked the breaker. Walk through the easy checks before assuming the opener is dead.
Check Power First
The opener’s outlet is usually on a GFCI circuit shared with other garage outlets. Press the reset button on the GFCI outlet. Check the breaker panel. Try the wall button instead of the remote, because a dead remote battery is the single most common cause of a “dead” opener.
Check the Manual Disconnect
Most openers have a red cord hanging from the rail, usually with a small handle. If that cord was pulled, the opener motor will run but the carriage won’t engage. The door will feel like it’s disconnected. Re-engaging depends on the brand. On most LiftMaster and Chamberlain units, run the opener until the carriage catches. On Genie models, the disconnect mechanism differs slightly. If you’re not sure how to re-engage yours, the opener’s manual has the exact procedure.
Listen for the Motor
If you hear the motor humming but nothing moves, you have one of two problems. Either the disconnect cord has been pulled, or the gear and sprocket assembly inside the opener has stripped. Stripped gears are common on older Chamberlain and LiftMaster chain-drive units after years of use. The motor runs fine, but the gear teeth have worn down to nubs, so the sprocket can’t turn the chain. That’s a repair job, not a replacement job, and it is a fix our garage door opener repair calls for regularly.
If the motor doesn’t hum at all and you’ve ruled out power, the logic board may have failed. On some models, a failed capacitor can also cause a silent opener. Both are repairable, but diagnosis requires opening the unit, which involves mains voltage. At that point, the safest call is a technician.
The Door Moves Partially, Then Stops
A door that moves a foot and stops, or travels halfway and reverses, is giving you information. Something is fighting the door, and the opener is detecting resistance and shutting down to protect the motor. Homeowners in Upland often notice this problem more in winter, when cold temperatures stiffen the lubricant in the tracks and rollers. But temperature is rarely the root cause.
Look for Obstructions
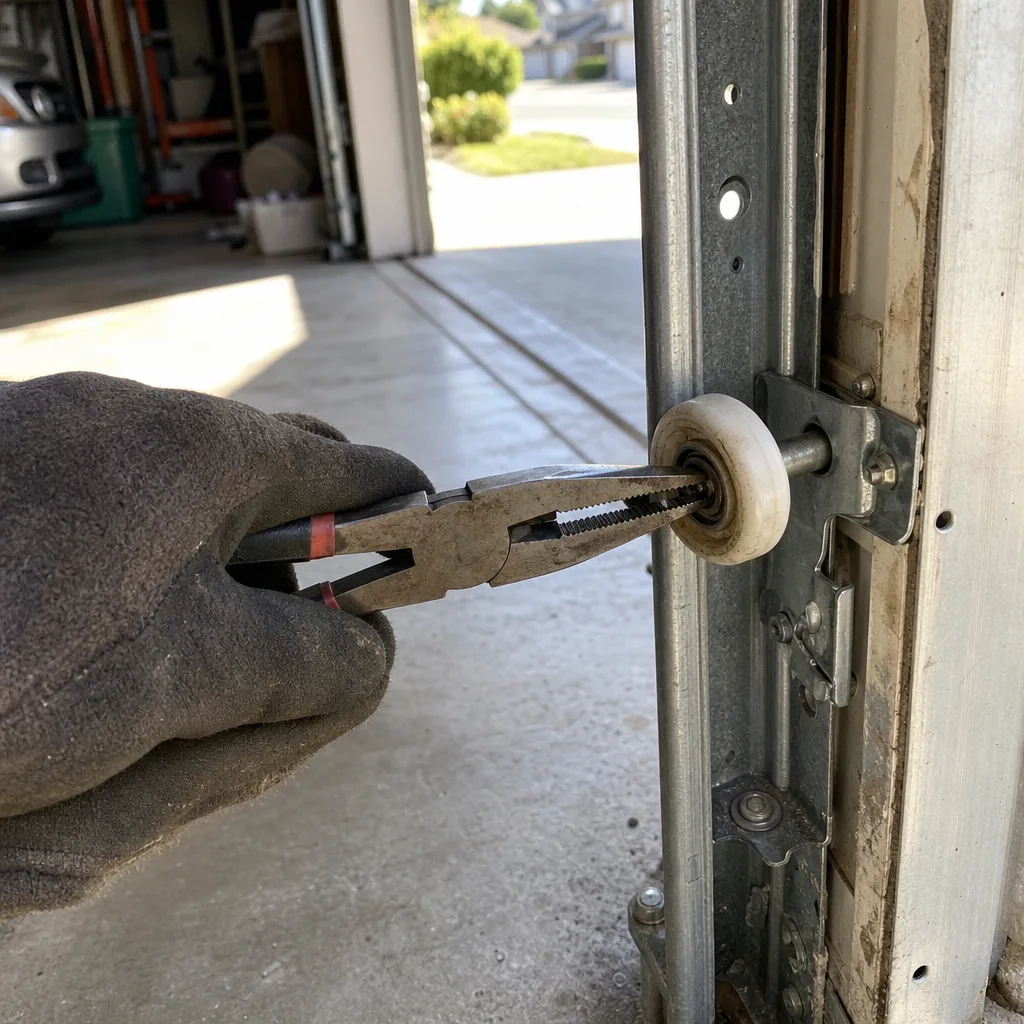
Walk the entire track path from top to bottom. Look for debris, a bent track, a loose bolt, a roller that has popped out of its bracket, or a bracket that has come loose from the jamb. Rollers can wear down over time and cock sideways in the track, creating drag. A bolt that has backed out a quarter inch can catch the roller at a certain point in the travel.
Test the Spring Balance
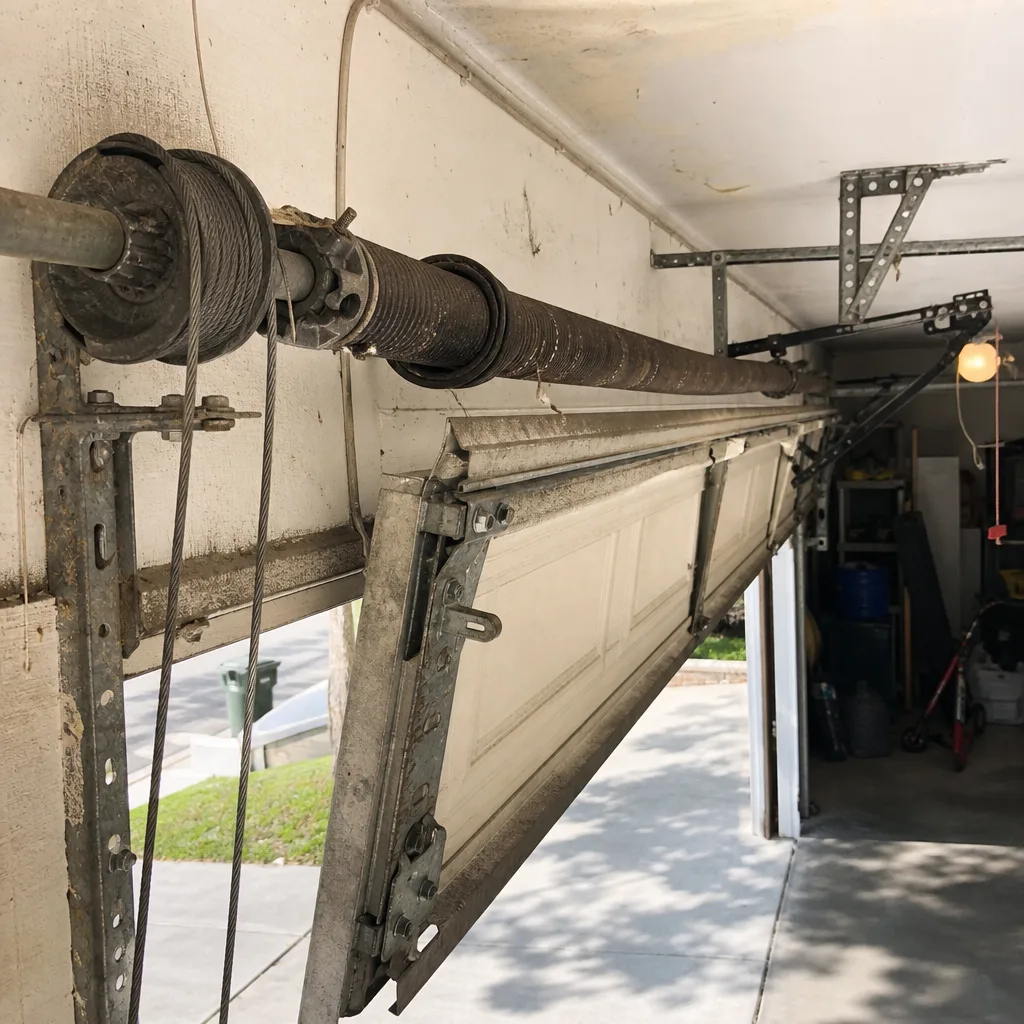
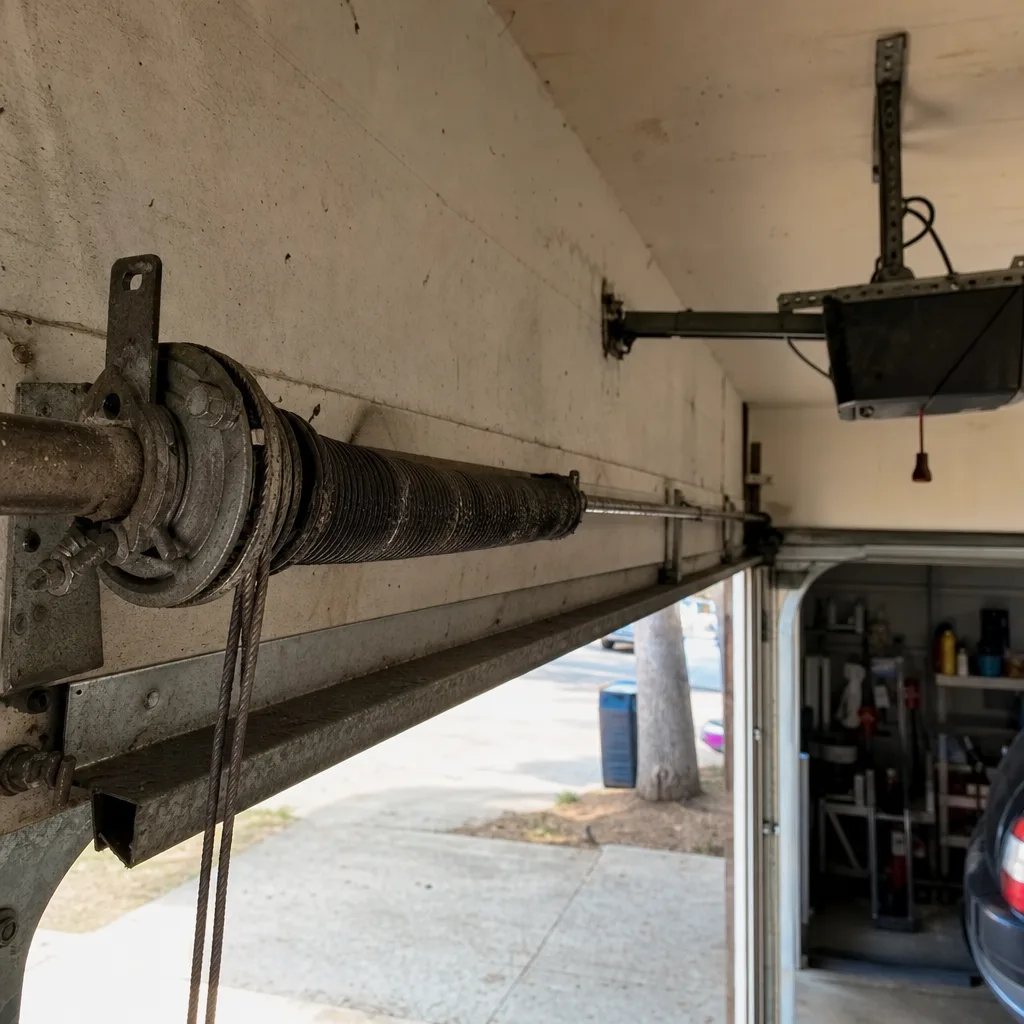
If the door feels heavy when you lift it manually, the springs are the problem. A torsion spring that has lost tension, or an extension spring that has stretched, will cause the opener to work much harder than it was designed to. The opener interprets that extra resistance as an obstruction and stops. This is the moment to stop troubleshooting and call for garage door repair. Springs under tension store dangerous energy, and adjusting them without the right winding bars and experience causes serious injuries every year.
Adjust the Force Settings
If the spring balance is fine and the tracks are clear, the opener’s force sensitivity may simply be set too low. On LiftMaster and Chamberlain units, the force buttons are usually on the back of the motor unit, marked “Up Force” and “Down Force.” On Genie models, they’re often accessed through a programming menu. Increasing the force slightly can solve a door that stops partway. But if you find yourself increasing the force repeatedly, something else is wearing out. Force settings are a compensation, not a cure.
The Door Reverses Before or After Touching the Ground
This is where the opening hook of this guide matters most. Two mechanisms control reverse behavior, and they do different things at different times.
Reverses Before Touching the Ground
A door that starts closing, gets a few inches or feet down, and reverses before it ever reaches the ground is almost always reacting to the photo-eye sensors. Two small sensors sit on either side of the door opening, about six inches off the ground, one with a sending lens and one with a receiving lens. If their invisible beam is blocked, the opener refuses to close and reverses as a safety measure. This system became mandatory on all openers manufactured after 1993, which is why older openers in some Upland homes don’t have them.
The fix is usually simple. Clean both lenses with a dry cloth. Make sure they’re aligned, because a bump from a car bumper or a broom handle knocks them just enough to break the beam. Look for a solid green or amber indicator light on each sensor. If one light is off or blinking, that sensor is misaligned or has a wiring problem. Inexpensive sun shields can also help on Upland afternoons when direct sunlight washes out the sensor beam.
Reverses After Touching the Ground
A door that goes all the way down, touches the ground, and immediately reverses back up is triggering the down-force safety system. The opener is detecting that the door pressed harder than it should have against the floor. Two causes are common. First, the close-limit setting may be set too far down, so the opener is trying to push the door through the concrete. Second, the down-force setting may be set too sensitive, so even normal contact reads as resistance. Both are adjustable with a screwdriver on most units: turn the close-limit dial slightly up, or the down-force dial slightly up. Make small adjustments and test after each. A door that reverses after touching the ground is annoying, but it’s doing its job. The same safety system is what prevents a door from crushing something when it closes.
Reading the Noises: Grinding, Squealing, Rattling
The sound a garage door makes is a diagnostic fingerprint. Different noises point to different systems, and being able to describe the noise accurately saves a technician time when you call. Here is what we listen for when an Upland homeowner describes a noise over the phone.
- Grinding, like teeth slipping: This is almost always the gear and sprocket assembly inside a chain-drive opener. The plastic gear inside the motor unit wears down over time, and once the teeth strip, the motor spins without engaging. The fix is replacing the gear kit, which is a common repair on older Chamberlain, LiftMaster, and Craftsman openers.
- Squealing, high-pitched and constant: This points to the rollers or hinges. Metal rollers with sealed bearings wear out, and once the bearing fails, the roller stops rolling and starts sliding, which creates friction. Squealing gets worse in cold weather. Lubricating the rollers with a silicone spray helps temporarily, but failed bearings need new rollers.
- Rattling, like something is loose: Walk the track line and check every bolt and nut. The door goes through thousands of open-close cycles a year, and that vibration loosens hardware. Tighten anything loose, and if the rattle persists, check the door panels themselves, especially where they hinge together.
- Popping or snapping during travel: This is different from a one-time spring snap. A recurring popping sound often comes from a cable slipping on the drum, a misaligned track, or a roller cocking out of the track and snapping back in. A one-time loud snap that leaves the door partially open is a broken torsion spring, and that door is not moving safely until the spring is replaced.
Error Code Blinks: LiftMaster, Chamberlain, and Genie
Most modern openers diagnose themselves. If you look at the back of the motor unit, you’ll usually see a small light that blinks in a pattern. Counting the blinks tells you what the opener thinks is wrong. You don’t need to dig out the manual. Here are the most common codes.
LiftMaster and Chamberlain (both made by the Chamberlain Group that also now makes Craftsman openers):
- 1 blink per second: The opener is in limit setup mode, or the travel limits need to be reprogrammed.
- 2 blinks: The safety sensors are misaligned, blocked, or have a bad wire. This is the most common code we see.
- 3 blinks: The door control or wall panel is wired incorrectly, or a wire is shorted.
- 4 blinks: The safety sensors are misaligned or obstructed (same as 2 blinks, but the opener is seeing intermittent signal loss instead of a constant fault).
- 5 blinks: The motor is overheating, usually from excessive force. The opener has run too hard too many times.
Genie:
- One red blink: The door control or wiring has a short or a stuck button.
- Two red blinks: The safety sensors are blocked or misaligned.
- Three red blinks: The door is sensing too much force on the way up, or the up-force setting needs adjustment.
- Four red blinks: The door is sensing too much force on the way down, or the down-force setting needs adjustment.
These blink codes save time because they tell us what to bring on the truck. If an Upland homeowner reads us the blink pattern over the phone, we often know the cause before we arrive. That’s exactly the kind of information this guide is designed to put in your hands.
The Three Tests You Can Safely Perform
There are three diagnostic tests a homeowner can do without special tools and without risking injury. Each test isolates one system. Run them in order when a door is misbehaving but not obviously broken.
Test 1: The Force Test
- Close the door fully using the opener.
- Grab the door handle and lift upward with both hands.
- If the door moves up more than an inch with moderate effort, the opener’s down-force setting is too high and the close-limit needs adjustment.
- If the door doesn’t budge at all, the down-force is working correctly.
This test tells you whether the opener is pressing the door too hard against the ground, which is a common cause of premature roller wear and cracked panels.
Test 2: The Balance Test
- Close the door, then pull the manual disconnect cord to release the opener.
- Lift the door manually to waist height and let go.
- A properly balanced door stays where you left it. It doesn’t drop, and it doesn’t rise on its own.
- If the door drops, the springs have lost tension. If it rises, the springs are over-tensioned. Both conditions force the opener to work harder than it should.
This test is safe because you’re not touching the springs themselves. You’re only reading what the door tells you. The actual spring adjustment is not a do-it-yourself job.
Test 3: The Photo-Eye Alignment Check
- Locate both photo-eye sensors on either side of the door track, a few inches off the ground.
- Look at the indicator light on each sensor. A solid green or amber light means that sensor has power and is aligned. A blinking or off light means that sensor is misaligned, blocked, or has a broken wire.
- If one sensor is out, gently adjust the bracket until the light turns solid. Use a level if you have one, and tighten the wing nut to hold the position.
- Wave your hand in front of the beam while the door is closing. The door should reverse. If it doesn’t, the sensors are bypassed or wired incorrectly.
These three tests cover the most common failure points. If all three pass and the door still misbehaves, the problem is deeper, and it’s time to call a Garage Door Service Upland home expert.
Common Misdiagnoses That Cost Time and Money
We have seen these misdiagnoses often enough in Upland that they deserve their own section. If you’re about to order a part or call around for quotes, run through these first. A wrong diagnosis sends you down an expensive path.
“My opener is dead” → Often, it’s a stripped gear.
A completely silent opener with no motor hum is often dead. But a humming opener with no door movement is usually a stripped gear inside the unit, not a dead motor. Replacing the gear kit is a fraction of the cost of replacing the opener. We’ve lost count of how many functioning Chamberlain and LiftMaster units have been scrapped because the gear stripped and someone assumed the whole opener had failed. If the motor hums, the opener still has life.
“My spring is broken” → Sometimes, it’s a snapped cable.
A door that jerks to one side, or drops suddenly, often gets blamed on the spring. But sometimes the spring is fine, and what’s actually broken is the lift cable, which runs from the bottom bracket up to the cable drum. A snapped cable can make the door unbalance and bind in the tracks, which looks a lot like a spring problem. The fix is different, the part is different, and a cable replacement is generally less involved than a spring replacement. Get the diagnosis right before ordering parts.
“The sensors are bad” → Usually, they’re just misaligned.
The blink code says the safety sensors are faulty. The homeowner replaces the sensors. The problem persists. What’s actually wrong is that the wire running from the sensor to the opener has a nick or a corroded connection, or the sensor bracket is loose and the beam can’t hold alignment. Before replacing sensors, check the wire and the physical alignment. Sensors themselves rarely fail.
“The door needs a full replacement” → Often, a targeted repair will do.
A bent panel, a broken roller, or a worn hinge doesn’t mean the door is done. We work with Wayne Dalton, Raynor, and Craftsman doors that are decades old and still worth repairing. A door has an expected lifespan, yes, but a single damaged component is not the same thing as a dead door. The repair-first approach means you spend money on what’s actually broken, not on what’s fine.
Where Self-Troubleshooting Crosses Into Danger
Most of this guide is written for a homeowner standing in their garage with a flashlight and a screwdriver. But there is a line most people don’t see until they’ve crossed it. Here’s where self-troubleshooting stops and professional work begins.
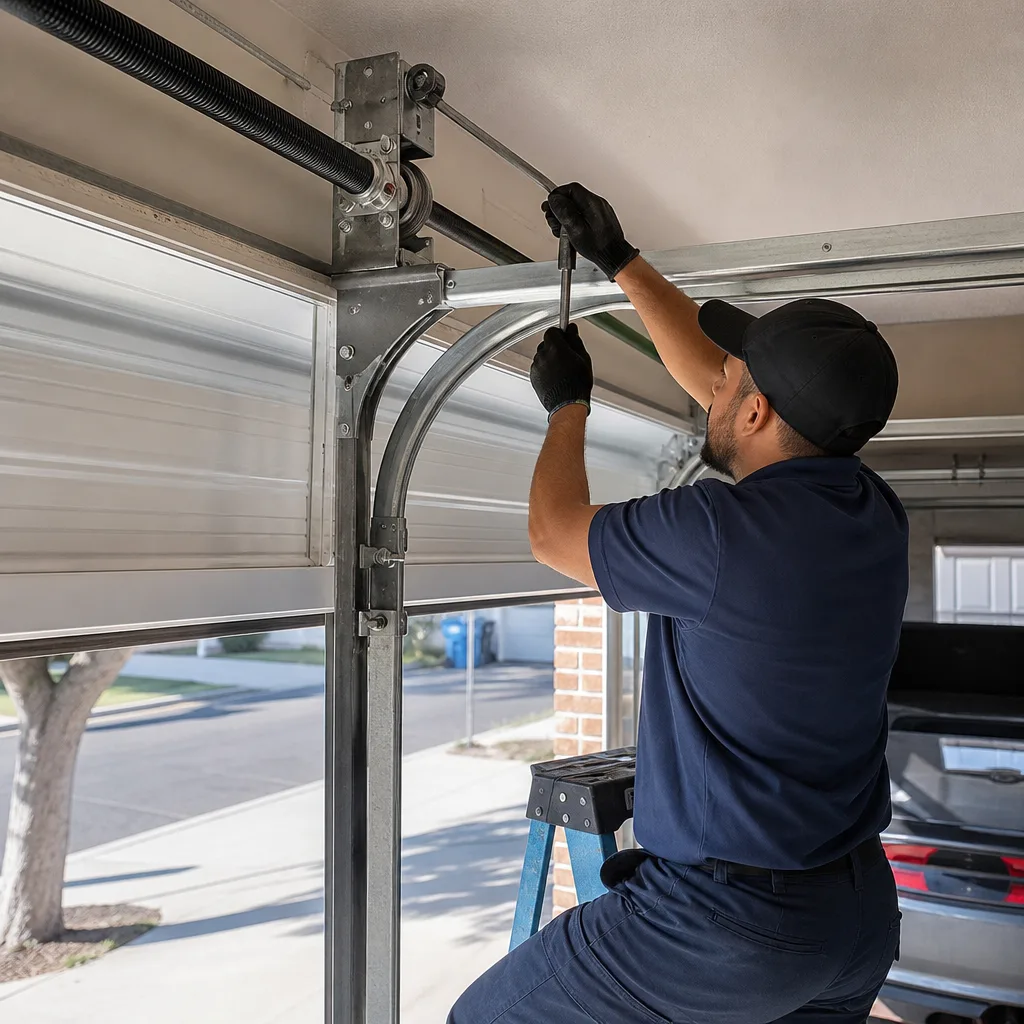
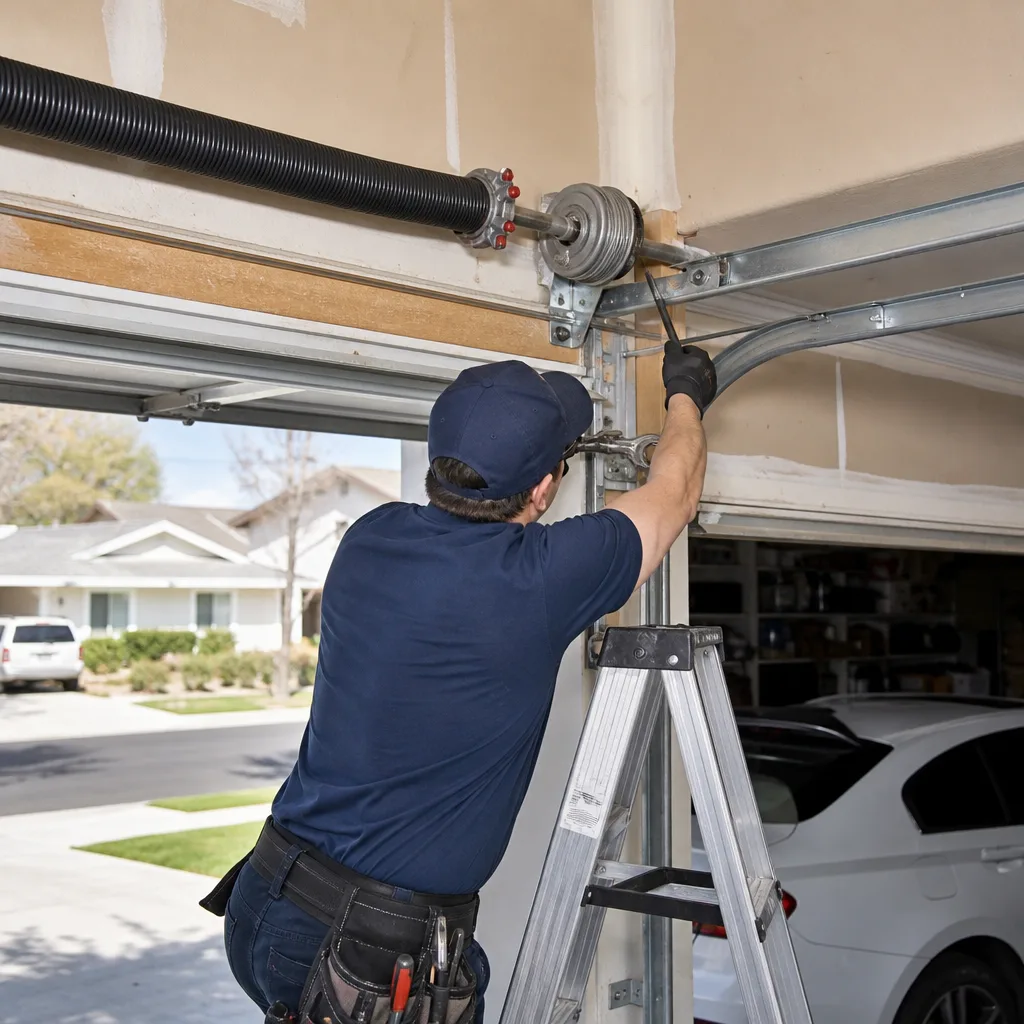
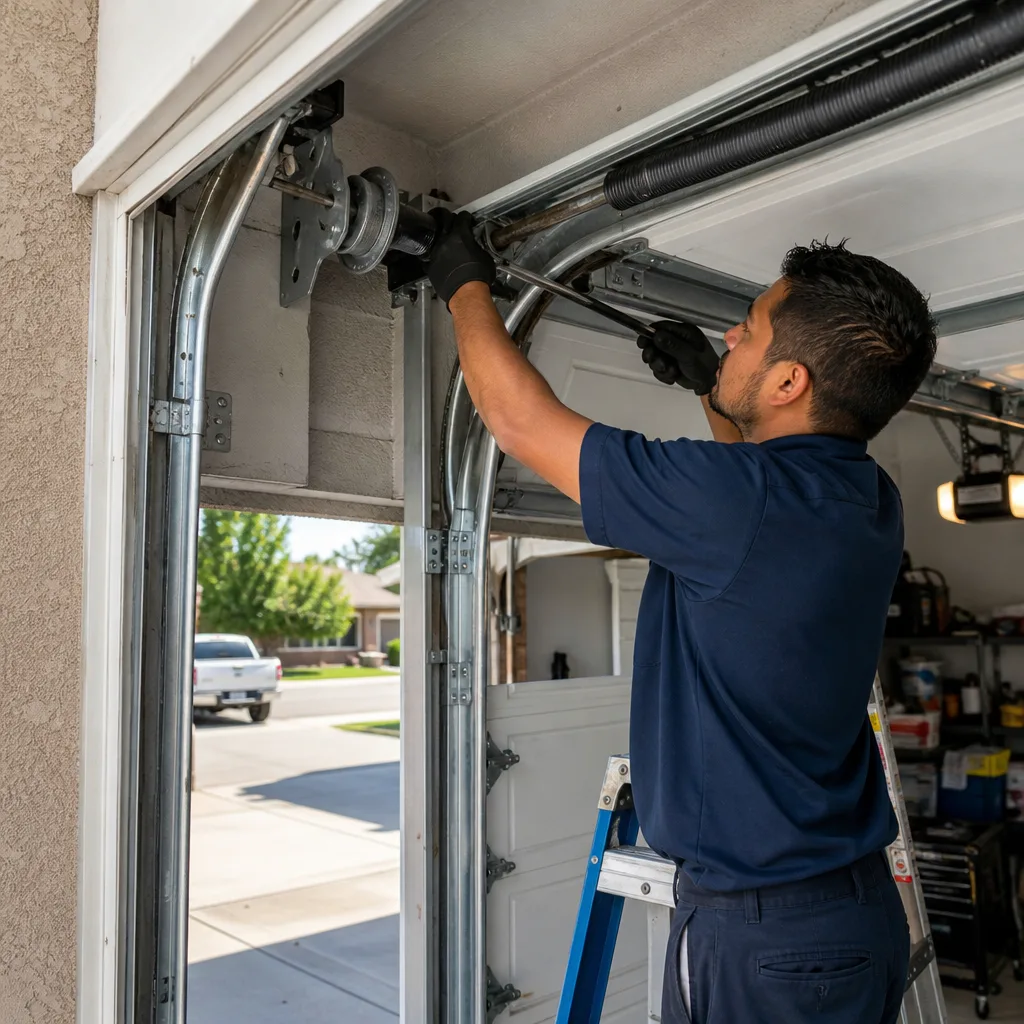
Anything involving torsion springs. The torsion spring mounted above the door is under hundreds of pounds of torque. When it breaks and the door is stuck half open, that spring still holds residual energy. Attempting to remove, adjust, or replace a torsion spring without winding bars designed for the job, and without experience reading spring wire size and track radius, has caused serious hand, arm, and eye injuries. We’ve seen the aftermath. This is the single most dangerous component in a garage door system, and it is never worth the risk.
Anything involving the lift cables. The cables running along each side of the door are under the same spring tension. A cable that comes off the drum with the spring still loaded can lash unpredictably.
Anything involving the opener’s internal wiring. The motor unit operates on mains voltage. If the diagnosis requires removing the cover and probing the circuit board, that’s not a homeowner job.
When you call an Upland technician, tell them what you’ve already tested. Saying “force test passed, balance test failed, two-blink code on the sensors” gives the tech a head start. Saying “the door does nothing” means the tech starts from zero. The information you gather using this guide genuinely shortens the visit, and a shorter visit costs less.
Common Mistakes to Avoid
- Lubricating the wrong parts: Spraying lubricant on the torsion spring is fine; spraying it on the belt or on the photo-eye lenses is not. Lubricant on a belt reduces the friction the belt needs to grip the drive. Lubricant on sensor lenses creates a film that blocks the beam.
- Using the wrong lubricant: WD-40 is a solvent, not a long-term lubricant. Use white lithium grease on hinges and a silicone spray on rollers. The wrong lubricant collects dust and turns into a gritty paste that accelerates wear.
- Adjusting springs without tools: The temptation to grab a couple of screwdrivers and wind the spring is real. Don’t. Spring work requires hardened winding bars that fit the cone set screws exactly. Improvising with screwdrivers is how people lose fingers.
- Ignoring a noisy door: A garage door that squeals or grinds is telling you something is wearing out. Letting it go for months turns a $40 roller replacement into a $500 track and spring assembly job.
- Replacing the opener before checking the door: A door that’s out of balance will kill a new opener’s motor prematurely. If the door is heavy and you install a new opener without fixing the spring first, the new opener inherits the old problem.
- Assuming all brands program the same way: Programming a LiftMaster remote is not the same as programming a Genie remote. Manuals exist for a reason, and skipping the manual for one of these brands wastes an afternoon.
When to Call a Professional
Call a professional when the problem involves torsion springs, lift cables, a stripped opener gear, a bent track, or when your troubleshooting has ruled out the easy fixes and the door still won’t operate smoothly. For help choosing the right company, read How to Hire a Garage Door Contractor in Upland: A Step-by-Step Guide. A door that makes a loud snap and then won’t open or close is not going to fix itself. A door that jerks to one side when moving needs eyes on it. In any of these situations, continuing to run the opener puts the door at risk of a more expensive failure. Garage Door Service Upland works across LiftMaster, Chamberlain, Genie, Clopay, Amarr, Wayne Dalton, Craftsman, and Raynor systems, and we offer free estimates in Upland. Call (855) 970-2962 and tell us what you’ve already tested. The more you can tell us, the faster we can get your door moving again.
Frequently Asked Questions
Garage door repairs in Upland typically range from $125 to $350 depending on what’s broken. A roller replacement or sensor realignment sits on the low end. A gear and sprocket replacement runs mid-range. A torsion spring replacement is usually $250 to $350 including the spring and labor. The price is always quoted and agreed before any work starts, so there are no surprises on the invoice. Call (855) 970-2962 for a free estimate on your specific problem.
No. Torsion springs are under several hundred pounds of torque even when the door is closed, and the tools required are specialized winding bars. The injuries caused by a spring that slips during a DIY attempt are severe and permanent. Spring replacement is the one repair we always advise against doing yourself, no matter how capable you are with other tools.
Standard torsion springs are rated for 10,000 open-close cycles, which translates to roughly seven to ten years for a typical Upland household that opens and closes the door two to four times a day. If your door has been in regular use for over a decade and the springs have never been replaced, they are on borrowed time. A spring that breaks with the door open is more dangerous than one that breaks with the door closed, because the door drops without warning.
If the opener motor runs but the door stays put, first check that the red disconnect cord hasn’t been pulled. If the cord is engaged and the motor spins but nothing happens, the gear inside the opener has stripped. That’s common on chain-drive LiftMaster, Chamberlain, and Craftsman units that have seen years of daily use. The gear kit is replaceable, and the repair costs less than a new opener.
A door that opens on its own is usually reacting to a stray radio signal, a shorted wall button, or a remote that’s stored somewhere it can get pressed accidentally. Start by changing the opener’s frequency or resetting the remotes to rule out interference. If the problem continues, a sticking wall button or a short in the control wiring is the next thing to check.
Repair when the door is structurally sound and the problem is a single component: a spring, a cable, a roller, a panel, or an opener gear. Install when the door is rusted through, panels are dented beyond repair, or you want to upgrade insulation and appearance. Our garage door installation team works with Clopay, Amarr, Wayne Dalton, and Raynor lines, from entry-level to premium, so a replacement matches your budget without compromising quality. We’ll tell you honestly whether a targeted repair makes more sense than a full replacement.
The Bottom Line
Garage door troubleshooting starts with accurate observation. Know what your door is doing, listen to what it sounds like, and read the blink codes if your opener has them. That information narrows the problem from “garage door broken” to “down-force setting too sensitive” or “stripped gear” or “photo-eye misaligned.” The three tests in this guide, the force test, the balance test, and the photo-eye check, cover most non-spring failures. Everything involving torsion springs, cables, and opener internals crosses from DIY into dangerous territory. When you need a hand, one call covers it. Garage Door Service Upland repairs doors, openers, and installs full systems across all major brands, and the estimate is free. Call (855) 970-2962.
Written by the team at Garage Door Service Upland, serving Upland since 2013.
See the difference
 Before
 After
 Before
 After
 Before
 After